Lately I’ve been trying to sew from my stash a little more, tackling beloved fabrics that have been languishing. My birthday dress and the fabric for my knickerbockers had both been in my collection for more than a year, for instance. So, when the thermometer started to drop lower (and lower…and lower…here in Minneapolis we hit a whopping -53F with windchill during the polar vortex this week!) I pulled out this length of wool offcut purchased at the Faribault Woolen Mill.

Faribault Woolen Mill is a historical mill south of the Twin Cities that offers tours of the working mill floor (SO INTERESTING to textile nerds), a shop filled with gorgeous wares, and often a little box or two with remnants. The piece I picked up was about 30″ x 80″, with a very large scale plaid pattern, of heavy felted wool originally intended for blankets. I hemmed and hawed over what to make it — maybe a bag! maybe a vest! — but after finishing a version of the Colette Negroni for myself (coming soon to a blog near you!), I decided it needed to become a jacket.

Colette Negroni Shirt 
Vintage Pendleton ad
The Negroni, while a shirt, has similar style lines to the classic Pendleton 49er, a light wool jacket with a spread collar, patch pockets, and cuffs, usually done up in plaid. I had perfected the fit of the Negroni, but given that I was planning to use a quite thick wool, I decided to shift the shirt to more of a jacket than a shirt-jacket shape.

To do so, I took my altered pattern front and back pieces and started by squaring off the hem. Then I straightened the side seam, removing the waist curve and adding width under the arms (to accommodate bulk).

I needed to true up the side seam lengths and fiddle with the shape of the armscyth to do so, but it all worked out.

Because the Negroni, like most shirt patterns, has a back yoke, I also had to play around a lot to change the yoke + back into a single back piece. The challenge here is that I wanted the width of the back (which usually has a pleat or two in order to fit into the narrower yoke) but wanted the neck width and shoulder width to stay the same. I overlapped the back and yoke by the 5/8″ seam allowance at center back, keeping the center back seam straight.

The pieces don’t match up at the armscyth, but because I was okay with added width to the sleeves I simply smoothed the curve of the armscyth to achieve a single piece. At this point, I measured my new armscyth seam line (minus the seam allowance at the shoulder) and used that to pick the size of sleeve to use. This ended up being two sizes larger than I used on my shirt version, which was just fine! The extra width allows for the bulk of the fabric + lining and a sweater underneath.

Because I didn’t have enough of the Faribault plaid for the whole body, the sleeves, collar, and front facing are made with the last bits of wool leftover from a vest I made for Morgan (also sometime coming to the blog; I keep writing things out of order!). The sleeves are interlined with flannel (also from my stash) and lined in rayon bemberg (the only fabric purchased). The body of the coat is lined in the last large pieces of Strawberry Thief Tana Lawn I had left after my shirt.


It came together pretty easily once I’d figured out all the drafting and pattern matching! To cut down on bulk, I pressed the seams of the body open, topstitched them 1/8″ away from the seam on both sides, then trimmed the excess seam allowance. At the side seams, I left open vents for the last few inches to give a little more ease of movement.

Because of fabric limits, I wasn’t able to cut as generous a hem allowance as I’d have liked. To rectify this, I stitched a grosgrain ribbon to the last 1/4″ of the coat and turned it up 3/8″, then handstitched. I’m pretty proud of how nice that looks!

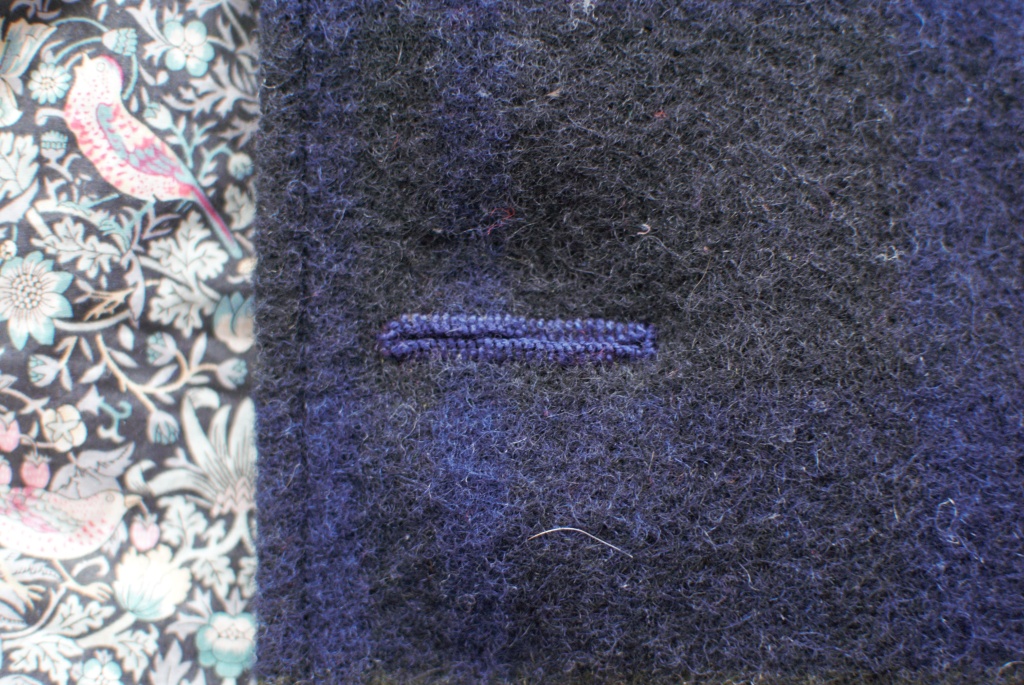
Also by hand: the hand worked buttonholes! I used a tutorial from Tasha of By Gum By Golly, and stitched them up in pearl cotton. Silk would have been nicer, but I didn’t want to wait for something to come in from online. They were actually lovely to work up, and I plan to do more in the future!

With the thick wool and underlining, this jacket is warmer than your average 49er. Unfortunately, there’s still not a ton of time in Minnesota to wear it — and when we went out to get these pictures on the frozen lake Bde Maka Ska, we were somewhere in the single digits below zero (Fahrenheit). These were taken VERY quickly while my coat was off! I’m hoping I’ll get some wear in this spring, though.

What a brilliant pattern hack! The finished product looks awesome and I love the contrast fabric sleeves and collar.
LikeLike
Ooh! I used this pattern to make an unlined jacket once before but I love it in plaid with a lining! It’s a beaut!
LikeLike
Thank you! I have a couple of similar vintage jackets that are unlined, but the lining makes it a smidge more practical for Minnesota weather.
LikeLike